What is Dridex malware?
Dridex first appeared in 2011 and has become a major financial cyber-threat ever since. It is a banking Trojan that is designed to steal your banking credentials and other personal information through a system that utilizes macros from Microsoft Office. It can also upload, download and run programs.
Dridex malware evolved from an earlier piece of malware called Zeus Trojan Horse. It mainly targets customers of financial/banking institutions in Europe. The damage done by this Trojan so far has been estimated at over hundreds of millions of dollars.
How does it work?
The virus spreads through infected emails sent to the victims. The emails typically contain an infected Microsoft Office file, and attempt to trick the user into opening the attachment.
When you open the infected Microsoft Office file, typically either a Word (.doc) or Excel (.xls) document, it triggers a small embedded program called ''macro''. That ''macro'' downloads the main payload of the virus, the Trojan program itself, which is then installed and run on the users’ computer.
What is so special about Dridex malware?
The Dridex hackers seemed to particularly focus on small- and medium-sized organizations, rather than individuals.
Unlike some other malware, known as “worms”, Dridex does not spread on its own. Instead, authors use their database of email addresses they chose to initialize the attack. Their targets are spread all around the world.
Dridex doesn’t use any particular security vulnerability to infect computers - the user has to actively initiate the infection. If the user doesn’t open the infected attachment, if macros are turned off, or if the notification from the macro requesting permission to run is declined, then Dridex cannot infect the computer.
Dridex is also considered dangerous due to its capability to hold its trails and tracks on the infected system by creating an autostart registry upon system shutdown as well as deleting the configuration file in the registry.
How to prevent Dridex from infecting my PC?
Here is what you need to do:
- be careful when opening attachments sent from unrecognized email addresses, particularly Word and Excel files,
- disable macros in Microsoft Office, or at least set them to request permission before they run,
- make sure you have installed an updated version of an antivirus solution as the basic protection for your PC and an antimalware solution as the necessary additional layer of protection - these will be able to intercept the infected attachments before they are seen
How to remove Dridex from a PC?
If you are looking for a solution to detect or to protect you from Dridex, download Zemana AntiLogger for free (it comes with 15-days free trial). It will detect any type of malware on your PC and remove it.
However, if you decide to continue using the Trial and do not wish to purchase the Premium subscription at the end of the trial, your Zemana AntiLogger program will disable premium features. All other (basic) features will remain unchanged.
Zemana AntiLogger as a Dridex removal tool for your PC
If you are looking for a solution that will help you in removing Dridex, download our Zemana AntiLogger, that will provide you with necessary Secure SSL, Keystroke Logging Protection as well as real-time protection. It is important to note that Zemana AntiLogger is compatible with any antivirus software that you might have on your PC and will run alongside it without any conflicts.
Below you can find a guide on how to detect and remove Dridex with Zemana AntiLogger.
- STEP 1: Download Zemana AntiLogger here.
- STEP 2: Once downloaded, install the software on your PC. You can do this by double-clicking on ZAL program icon on your desktop or in your downloaded files.
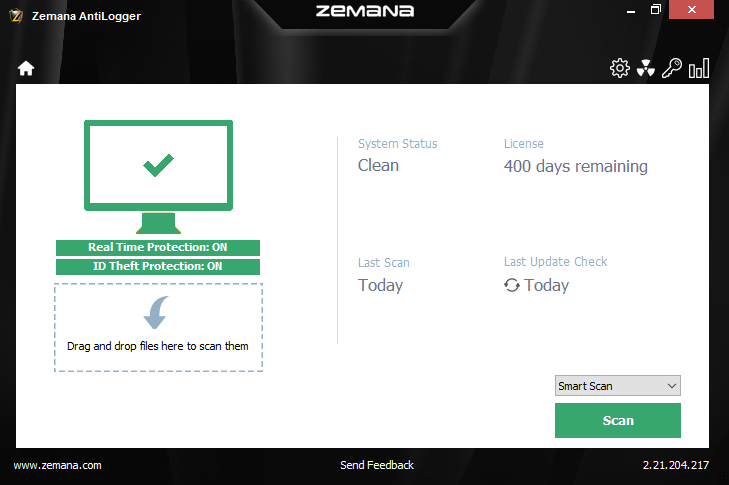
- STEP 3: Press the "Scan" button.
- STEP 4: When the scan is complete, click "Next".
- STEP 5: Restart your computer if you are prompted to do so.